Wednesday, December 14, 2011

Exploring Depth in the Depths with a Porthole Window

This project turned out so beautifully!  My third graders were introduced to several new concepts with this 3 week project.

Week One- Learn about tints and shades. Then students painted a large blue oval on the paper.  They mixed white with the blue and painted inside the circle, each ring gets progressively lighter until you get to the center.  Next add black to the blue and paint rings on the outside of the circle.  Each ring getting darker until you hit the outside.

Week Two- Learn about 5 ways to create depth.  Students did a warm up drawing worksheet where they practiced creating space by...
1)overlapping
2)placement on the page
3)size
4)amount of detail
5)boldness/paleness of color

Next we watched a video about jelly fish on Discovery Streaming and learned about what they look like and how they move.  Students drew jellyfish on their paper in white oil pastel using as many techniques for creating depth as they could.


Week Three- Watch another video on Discovery Streaming this time about coral reefs.  Have students continue to create depth, by using the 5 techniques, but this time add fish and coral to complete the picture.  Cut out the most interesting part of the picture and assemble into a porthole window. 

Thursday, December 1, 2011

Newsletters

How many of you send out a newsletter?  How often do you sent it out and what is in it?  I keep experimenting with different formats and I keep refining to find something dynamic, but less time consuming. 

Monday, November 14, 2011

Some Snowy Projects

A friend asked for a few snow related projects and since they are thinking we may have snow here before Thanksgiving, I thought I'd post a few of my favorites from the past.
Pointalism Snowglobes

Foil Snowflakes

Tints and Shades of Primary Colors based on Snowman at Night 

Sillhoutte Monoprint Snowflakes (makes great wrapping paper)

Shading with chalk Snowman

 3 views of a snowman in oil pastel (borrowed from another blog)

Painted tints and shades snowmen from Snowmen at Night.

Tuesday, November 8, 2011

St. Louis Art Museum Monet Poster Debut

For the last few years I have been a part of the St.Louis Art Museum Teacher Advisory Committee.  This has been a fabulous experience and given me a chance to present at their teacher workshops twice now.  After the most recent workshop I am feeling much more confident in my presenting skills and I am hoping to present at MAEA in the spring. 

So the presentation was based on the Monet's Waterlillies Exhibition currently at the St. Louis Art Museum.  I presented a lesson plan based on the idea that you can connect the idea of hybridization of plants and art. I talked about Mendel and his pea plants.  How he isolated 5 specific characteristics of the plants to try and make offspring with specifically desired traits.

My final lesson included these 3D flowers...


Painting on a Cart- my way

First of all you need some way to transport things, paint and water just can't be easily carried.  If you have a cart great or check to see if there is an extra AV cart in the library or I have even used a wagon (like a Radio Flyer, I like the one made for off-roading with fat air filled tires).


I use liquid watercolors, but the procedures would be the same with pan watercolors. I try to prep 8 sets of everything I use, this seems to be enough for any of the classrooms I go to. I carry 2, five gallon buckets with me, one for clean water and one for dirty.  I fill the clean about 1/3 of the way. I also have half sheets of poster board I use for place mats.

When we paint I have students pick up supplies cafeteria style from my cart or an available table.  They get their paper, paint shirt, place mat, and brush.  I pass out water cups and paint when everyone is settled, this avoids spills. if it is a rather messy group, or a teacher has complained about messes, I keep the paint and water cups in an old cookie sheet, a paper box lid, pop can trays or a shoe box lid to contain spills and drips. Once paint is out they have to raise hands to get supplies, this limits movement in tight spaces. I make sure to have paper towels cut in quarters available for minor wipe ups. 

When we are done painting, place mats and paintings go on the drying rack. I collect paint and water cups with paint brushes in them.  The dirty water goes in the dirty bucket and I rinse the brushes in some fresh water or leave them in fresh water to clean later, depending on how dirty they are, or if I have another class painting that day. I put a little clean water in each cup, swirl around and dump in the dirty before stacking them.
While I take care of brushes and cups, students put away all other supplies and wipe desks with baby wipes or damp paper towels. I start training them with this in Kndg, and they are pretty self sufficient by the 1st grade. If it is a messy hand type of day, I give them either wipes to clean hands or we go to the bathroom for a 30 second wash (our bathrooms have 8 sinks).

My goals are... easy to store, fast/easy to clean up and compact.  This isn't the same system I use when I have a classroom.  Then I try to have students take more ownership and be responsible for most set up and tear down.  

Thursday, October 6, 2011

Pictures of early year projects

I keep thinking that I am going to actually write about each of these but it just won't happen.  So here are the photos of some of my September artwork.


These are 1st grade number drawing based on The Figure Number Five by Charles Demuth.   I used it as a way to get started with procedures for the year and review crayon use.
 
This was borrowed from a blog (sorry can't remember which) But they were complex pattern kimonos with second grade. 


These are 4th grade abstraction of a hand using values in 2 colors only using crayon.


These were third graders working with overlapping and review of material use.


Again, I borrowed this and can't remember from where.  But I really like how they came out!  Still life of a bike with and analogous glow. These are by second grade.


This project kind of bombed, but I show it anyway.  Started out great, bug pics made symmetrical by drawing only half and mono printing to the other side.  That's where it went down hill.  Probably should have waited a little further into the year, lots of not following directions led to unidentifiable blobs.  These are the more successful ones.  The biggest mistake was when I had other classes cut them out to mount on new paper.  Now I have piles of blob scraps, EEEKKKK!


Saturday, October 1, 2011

  After the introduction to art with The Dot, the next logical place was to create with dots.  We talked about Georges Seurat and spent a large amount of time talking about how to use paint properly.  The lesson was less about art and more about material control.  I talked about why we wear paint shirts, where the paint belongs and what happens if paint gets in the wrong place. 


Another very successful art experience for Kindergarten.

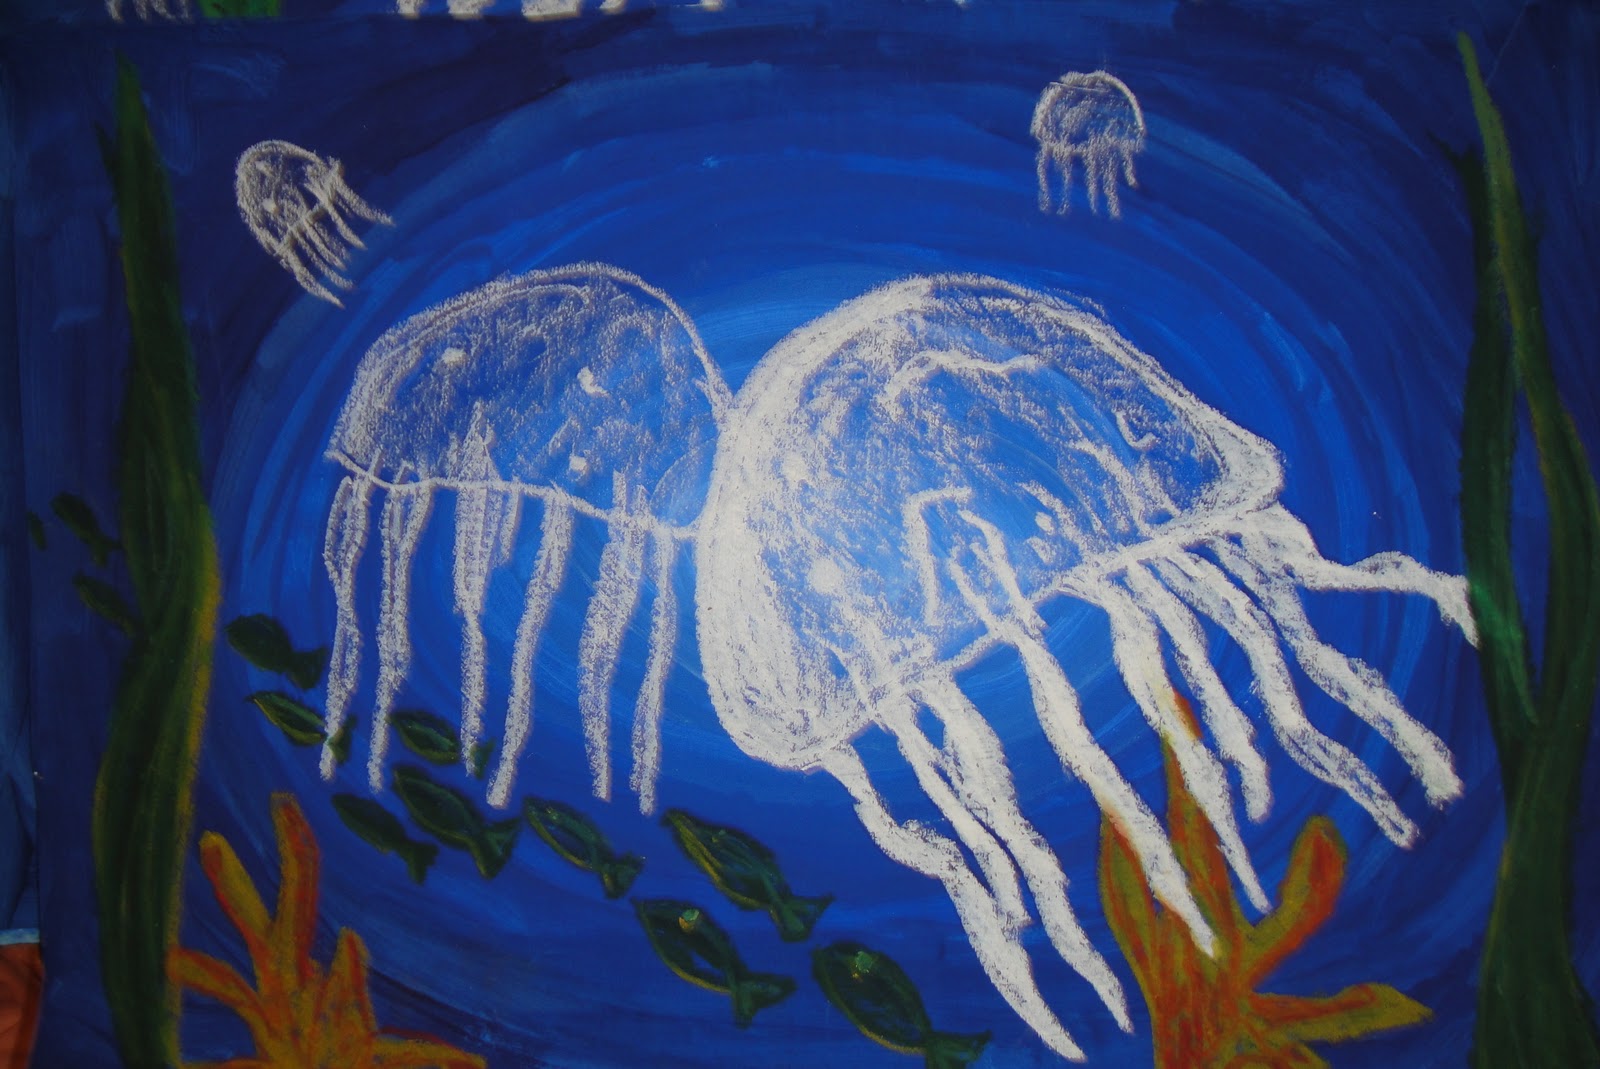
Our next adventure was in figuring out what happens when a dot moves.  I gave each student a 5mm slice of crayon and had then push it around a paper.  We talked about what the mark it made was called, line.  I read several books on lines to students and we even went outside to move in different lines.  I teacher them straight, curved, squiggly, bumpy, wavy, curly, zig-zag, broken, dotted, spiral and castle. After they learn the names and how to draw each one, we drew several on 12x18 paper.  Next we drew in glue over each and sprinkled sand on top.  This gave us a textural line like the book Lines that Squiggle. Students thought this was very cool. 

During the next class period we painted over the lines with tempera cake.  This was again more of a lesson about materials use not art terms.  I did point out that the style of art we were creating was non-objective, and therefore they didn't have to worry about what they were painting, just to focus on using the paint correctly.


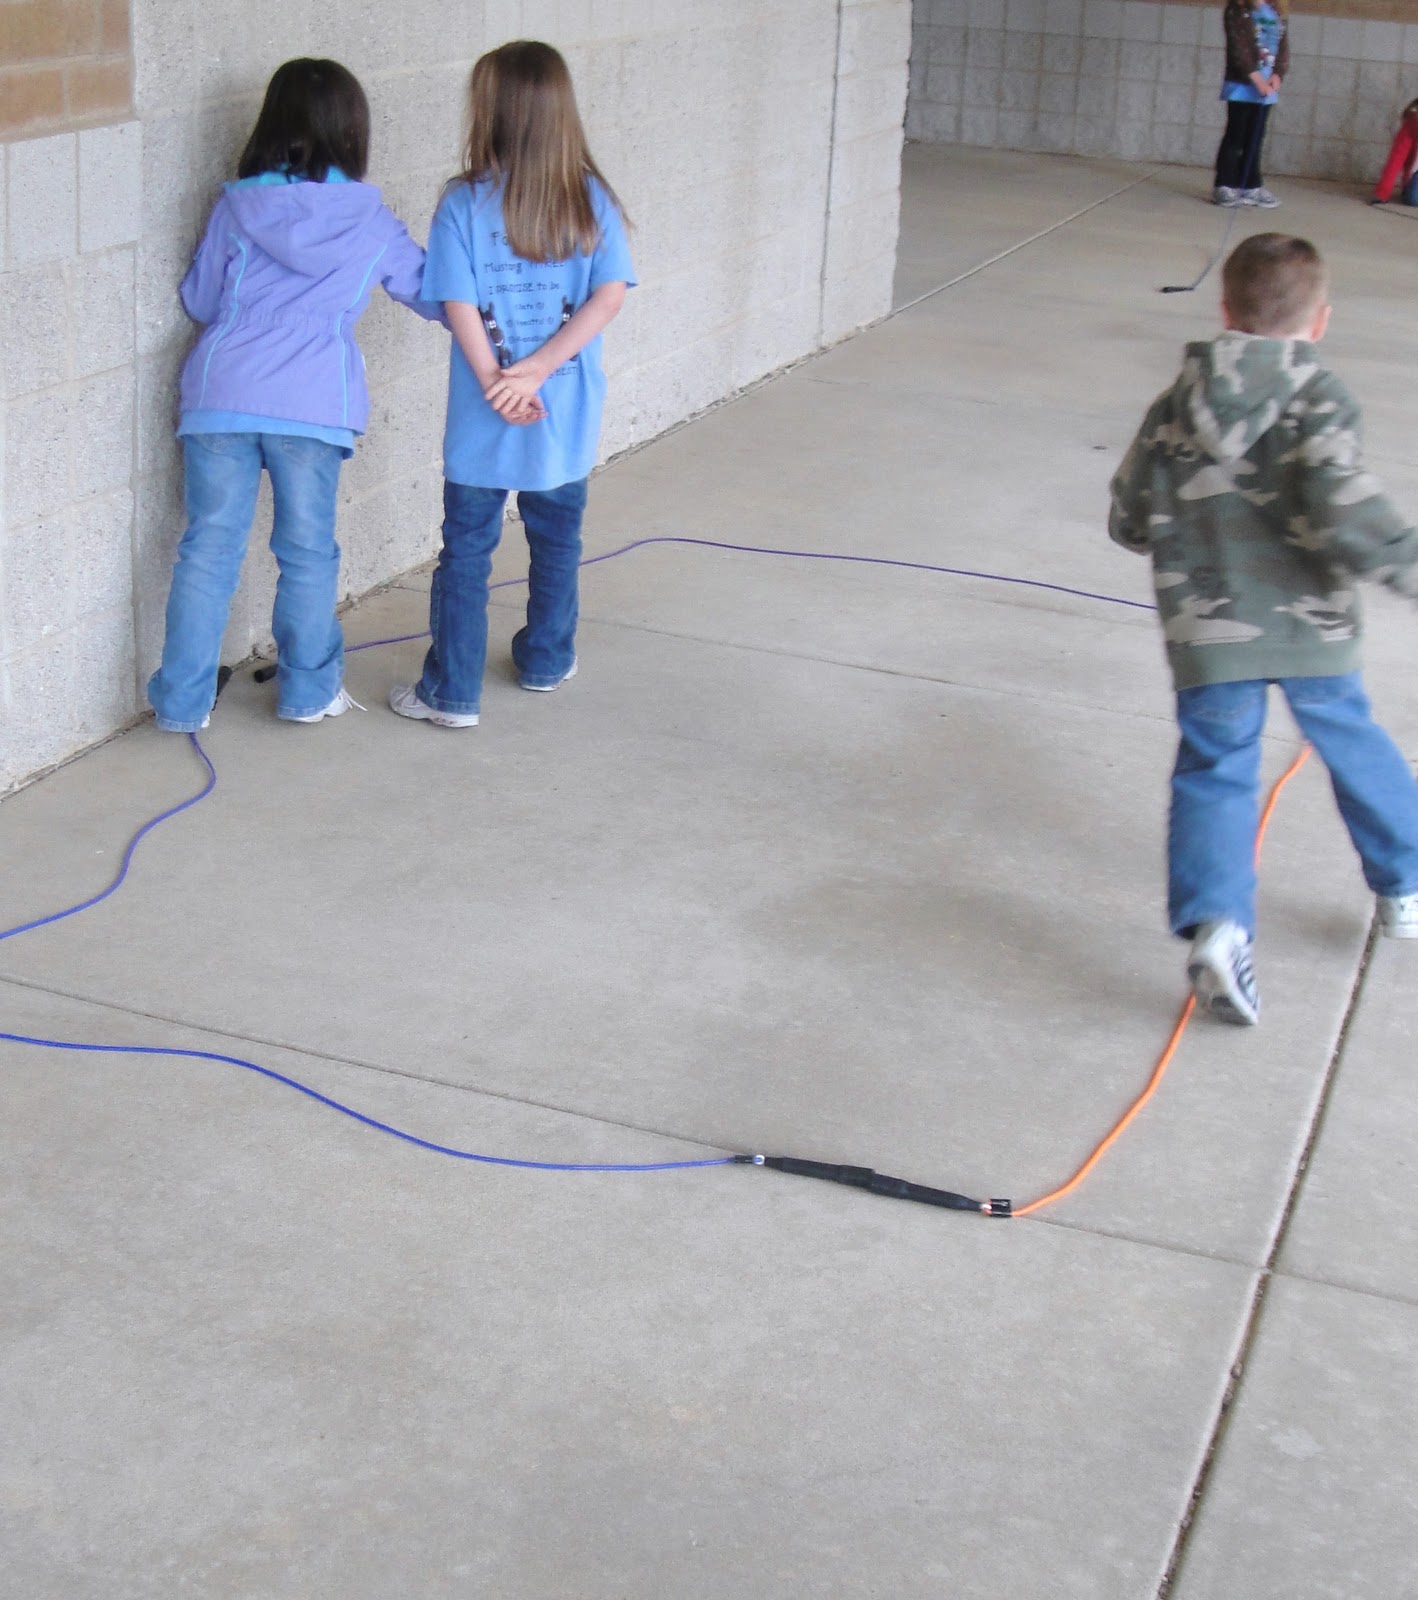
Again the next logical step was to discover what happens when lines come together.  So back outside we went with jump ropes to make shapes from straight and curved lines.  Students worked in groups of 3 or 4 to make giant shapes.  They had a lot of fun and it was great problem solving and cooperative learning for everyone.

  
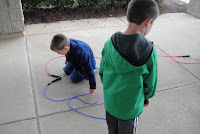
Team working on a heart.

 
Students making a square or rectangle.


Once students have an understanding of how lines work together to make shapes, we trace and try them on a worksheet.  Shapes we learn are, circle, oval, half circle, triangle, square, rectangle, rhombus, trapezoid, heart, star, hexagon, octagon and pentagon. 

Next up Joan Miro pictures with lines and shapes together.

Monday, September 26, 2011

It all starts with a dot.


I always start my Kindergarteners out with with a high success project that gives me a glimps into where they are fine motor wise.  I read the book The Dot and we talk about how art can start with a simple dot.  Each child then gets to make a dot of their own.  When they are finished we glue it to a gold colored paper and use gold marker to make swirls.  They frame it in "swirly gold" just like the art teacher in the story does. The best part is the hall display.  The kids get so excited to see their dot on display.  

Sunday, September 25, 2011

5th Grade- Experiments with Tweeting

My 5th graders are going to learn about social networking, specifically formats like Twitter.  Each student will be tweeting in a more manual form about a variety of topics throughout the school year.  This started with discussions about Vermeer and Vasquez portraiture.  Students learned many of the tricks used to get proportion correct and the placement of facial features just right.  We used mirrors to help students create more accurate portraits of themselves.  The drawings were done in pencil and then lightly colored in with colored pencil.  Next, we glued then onto paper to create a Twitter looking strip and added screen names. I will be laminating them over the next few weeks and then students can respond to my tweets with a dry erase marker.  The tweets can then be posted for everyone to read.  I think there are probably lots of ways to use these in the classroom, but I haven't thought of all the possible applications yet.  I got the idea from a speaker I heard at the MSDC conference last year.  Other ideas like this are available on his web site http://kevinhoneycutt.org/